Here, I will explain my experience of which shoji paper we chose and how it turned out, with some advice on how to choose it for those who are thinking about replacing shoji.
- Frequency of replacing shoji paper depends of the room.
- Modern shoji paper mostly made of plastic
- Shoji paper with a ratio of almost 30% of Japanese paper and plastic
- Advantages / Disadvantages of shoji paper, depending on the pulp and plastic content ratio (Summary)
- Conclusion
- Appendix: How to paste shoji (by glue)
Frequency of replacing shoji paper depends of the room.
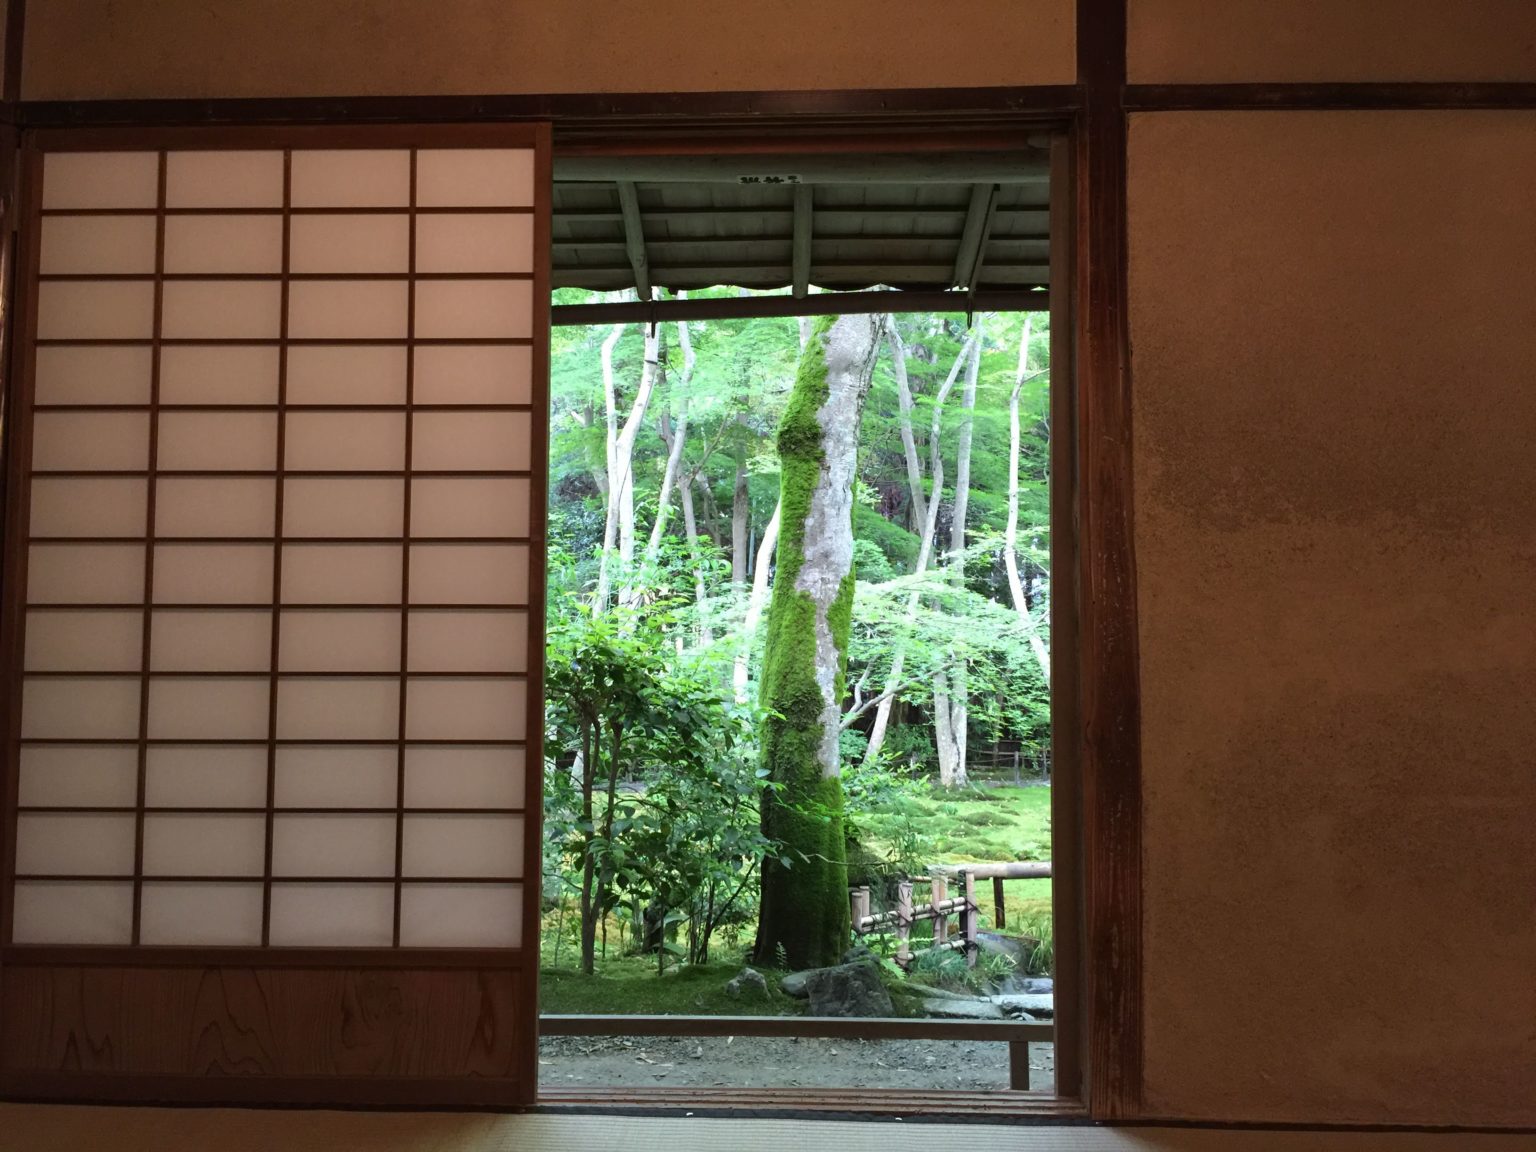
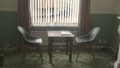
Surrounded by other homes, the ground floor of our home is exposed to direct sunlight for only a short time of the day. I feel that there is no problem even I have never replaced the shoji, since there is little direct sunlight where, I enjoy the soft sunlight coming in from all four windows of this room all day long.
The 2nd floor has a different story where there is less obstacle from neighbouring houses, so the sun shines all day long. Both the east and south windows are exposed to direct sunlight, so the shoji paper is easily damaged, and it has been about 12 years since I moved, but I have replaced them several times.
Modern shoji paper mostly made of plastic
The shoji paper I bought right after I moved in this house, was mostly made of plastic, which was recommended by the home improvement store as “the shoji is hard to tear.” About 20% of it is mixed with traditional Japanese paper, but it is mostly plastic, so it feels smooth on both the back and front. However, since it contains a small amount of pulp, it is almost indistinguishable from ordinary shoji paper unless it is touched.
However, the method of sticking is completely different from ordinary shoji, and the flow is to first purchase a special thin double-sided tape together, stick the double-sided tape on the frame of the shoji, and then put shoji paper on it carefully. This was a rather tedious task because the tape was extremely thin and it has to fit perfectly on the thin shoji frame.
Moreover, it seems that the adhesive function of this double-sided tape is relatively weakened by the sunlight, and after only about a year, all the upper edges were peeled off and the inside of the window was exposed to the next-door house.
Shoji paper with a ratio of almost 30% of Japanese paper and plastic
I went to a home improvement store and found the same plastic that I had bought before, but I bought the different type of shoji paper of which ratio of plastics was only about 30%, and most of them were traditional Japanese paper, which was also about 30% cheaper. It doesn’t look glossy, and even if you touch it, it’s felt like almost the same as Japanese paper. However, a person at a home improvement store says, “It’s stronger than real paper,” so I tried it because it was a lot cheaper than I bought it before.
It seems that glue is used instead of double-sided tape, and I was hesitant to use glue, which I was accustomed to using double-sided tape last time, but I felt that glue would be easier to use. Because when I was little, I used glue to replace a part of the shoji at my grandmother’s house, and it was a simple task that even a child could do.
So when I used it, I got the impression that glue was easier than tape.
Advantages / Disadvantages of shoji paper, depending on the pulp and plastic content ratio (Summary)
Traditional Japanese “Washi” paper, made of 100% pulp
(We haven’t used it, but when we moved in, the one that was originally pasted was 100% paper-like, so the below is the impression from our observation.)
Advantages
・Cheap price. I also saw them sold at 100-yen shops.
・”Wash” paper is said to have the function of regulating the general humidity in the room.
・It is easy to stick with glue in general, and stay stuck for a long time.
Disadvantages
・The paper that was originally affixed when I moved was brown due to heavy stains and the like due to humidity. Probably because it absorbs the humidity in the room.
・The traditional shoji paper is thin and fragile. The paper of our house was torn here and there when we moved in.
Almost plastic with a plastic ratio of 50% or more
Advantages
・ Because it is hard to tear, it may be suitable for a house with small children.
・ Mold does not grow on the paper
・ Even if it gets dirty, it will come off almost cleanly if you wipe it with a wet tissue.
・ In a room with poor sunlight, it remains clean even after 10 years or more without having to replace it even once.
Disadvantages
・ The price is higher, far from a 100-yen shop, it costs around 1000 to 2000 yen for a sheet.
-The surface is smooth and can only be attached with tape. The tape is costly, too.
-Since the tape is weak to light and heat, it will peel off in a sunny place. At my home, it came off in about one year. If it comes off, it’s difficult to start over just by changing the tape, so I decided to replace all the paper.
-Since plastic does not allow moisture to pass through, the wooden frame gets easily moldy and damaged. The paper is clean in a sunny room, but the wooden frame is blackish and moldy and weak. (However, it is not so noticeable at the moment)
・ Since the tape is extremely thin, it is a tedious task to apply it according to the thin frame.
Mostly traditional Japanese paper, with a little plastic, ratio of 30% or less
Advantages
・ The surface is almost the same as paper, it doesn’t feel slippery and feels like real paper.
・ Although it has not been torn so far, it is probably easier to tear, than the above-mentioned more plastic containing paper.
Disadvantages
・ I don’t feel any disadvantages so far.
・ It seems that this type of the paper has an intermediate level of price, fragility, moisture control and everything. All in all seems to be in the middle.
Conclusion
Shoji paper mixed with less plastic is the most recommended
Appendix: How to paste shoji (by glue)
Precautions when purchasing
The shoji paper often have a watermark pattern, and if you buy it at a store, you can’t see it well, as we actually bought one with floral patterns by mistake and had to return to the shop to exchange it. So be careful when purchasing.
—————————————————————————–
It is difficult to choose the right one so I looked for the product and found the same product at Amazon as we had bought, which is mostly traditional Japanese paper, with a little plastic, ratio of 30% or less.
(I believe there are more products which look very similar, but I haven’t actually used them so I can’t say if they are good or not.)
This is the shoji paper we actually bought at our local home centre.
[アサヒペン のり貼りプラスチック障子紙 94cmx2.15m 無地]
size:
94cmx2.15m x 1sheet, (8%vinyl/no pattern)
アサヒペン のり貼りプラスチック障子紙 94cmx2.15m 無地
I couldn’t find that the glue we bought but this seems similar, because the bottle has a nozzle, so no brush is required.

Just paste with glue
Since I first replaced the shoji, I have been faithful to the method of writing on the package containing the shoji paper every time, but this time I thought that I didn’t need a manual. Actually, there was no problem even if I simply pasted it with glue, regardless of what was written in the manual.
—————————————————————————–
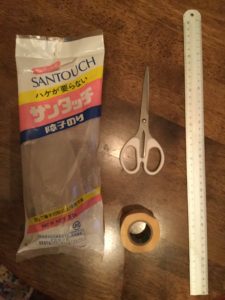
←These are all you need, apart from the paper.
a bottle of glue, a masking tape, a pair of scissors, a bar to cut the paper alongside with.
(The bottle has a nozzle and I did not have to use a brush. I also used an old chopstick to spread the glue.)
Place the paper in the frame and cut it with scissors.
 To peel off the old Shoji paper, I wiped the frame with a wet towel and left it for a quarter an hour.
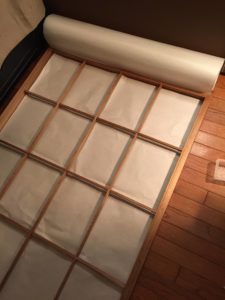
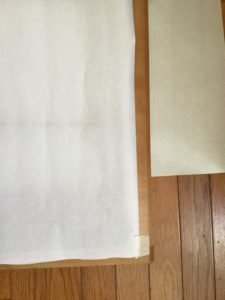
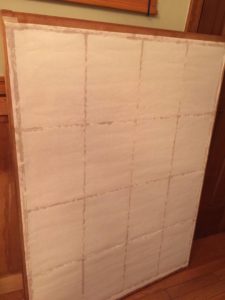
After putting the new paper on the frame first, then cut it with scissors to fit roughly the periphery, and positioned it with a masking tape on one edge.
After deciding the position in advance, start pasting.
It’s really easy because you just stick the paper, but the point to note is that you should decide the position in advance so that you can stick it in one shot so that the paper does not get dirty due to misalignment.
The paper under the wood frame in the above photo is the old paper. I put it after peeling it, to keep the floor clean.
The new paper is rolled up and put on the edge by the masking tape, after the position is decided.
 After that, rewind the paper slowly, and then glue it to stick to the frame.
Do not be remove the masking tape, until you complete everything.
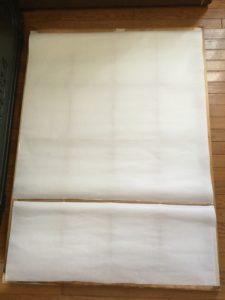 You can use more than one sheet of paper like this photo, if there is any leftover, or the wood frame is too big for a sheet. Ours was too big.
Use more glue than usual
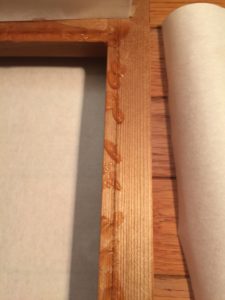 Shoji paper that contains some plastic seems to be hard to get glued, so it is better to use more glue than usual especially for the periphery. So I put glue on the frame like the photo, stretch it roughly by a chopstick or a spatula, and then put the paper on it.
However, if you apply too much, the part that sticks out can turn yellow and it is not very beautiful, so be careful not to apply too less, but be careful not to apply too much.
If you put too much you can just wipe it with a waste cloth or sponge or tissue paper.
—————————————————————————–
← in the photo it has got too much glue.
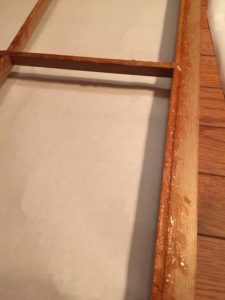
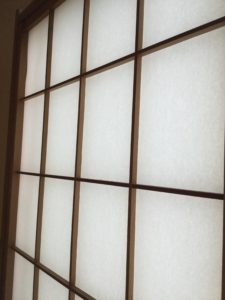
 Shoji paper should be ideally glued to the frame in a taut state, but if it does slacken, it will not be very noticeable unless it is too much. So don’t worry and just try!
—————————————————————————–
← this is the back.
 —————————————————————————–
← this is the front.
紙パルプ100%じゃないからかも?


コメント